Help Center/Manager Sign-Up

Manager Sign-Up Tutorial

A complete walkthrough of becoming an IslaFans manager, from your application to a verified dashboard with your payout method configured. Follow the six steps below in order — each one includes real screenshots from the platform.

Step 1Create Your Manager Account

Go to islafans.com/managers/register and complete the 2-step application.
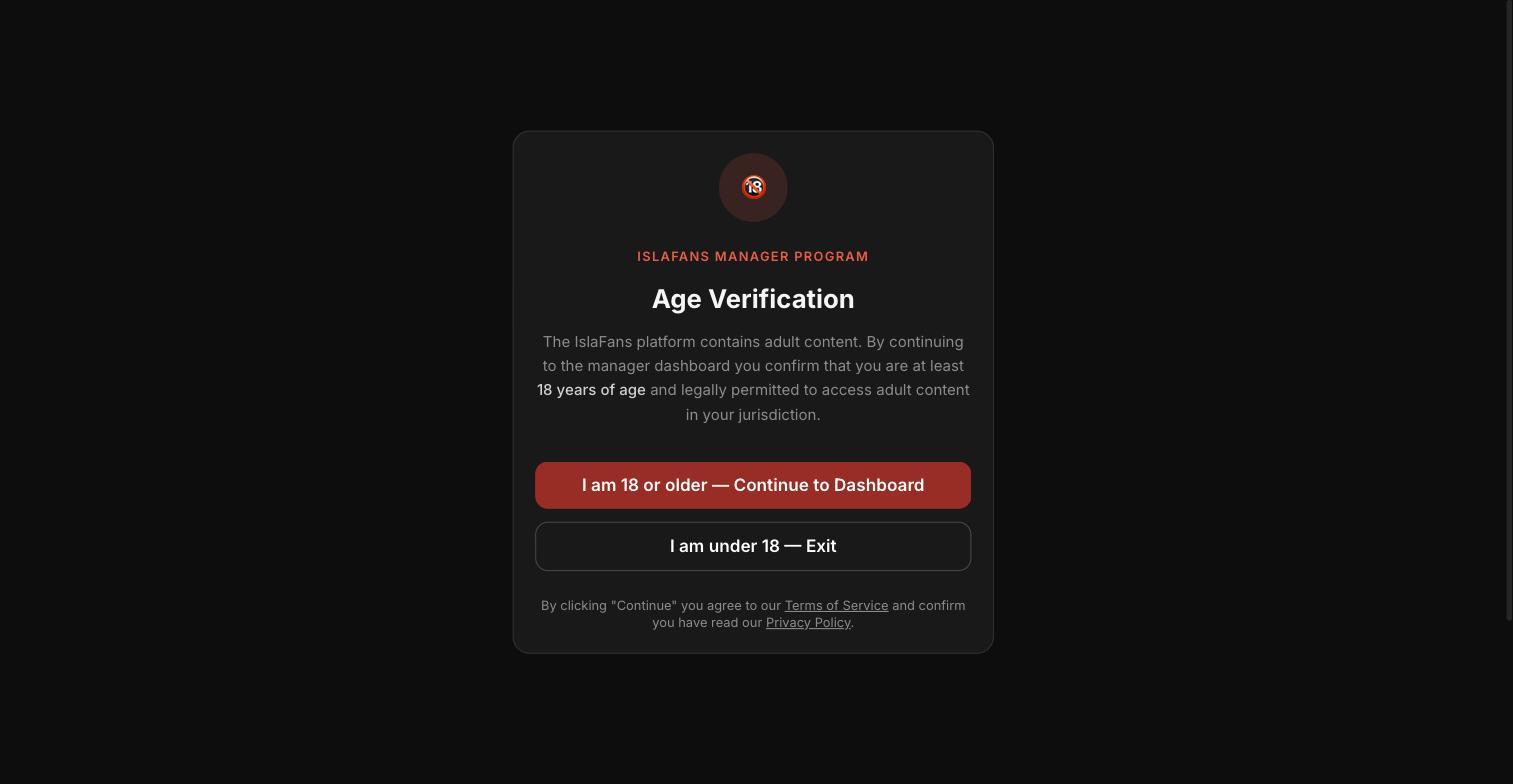
Create Your Manager Account — screenshot 1
1. An age-verification gate confirms you're 18 or older before you can register.
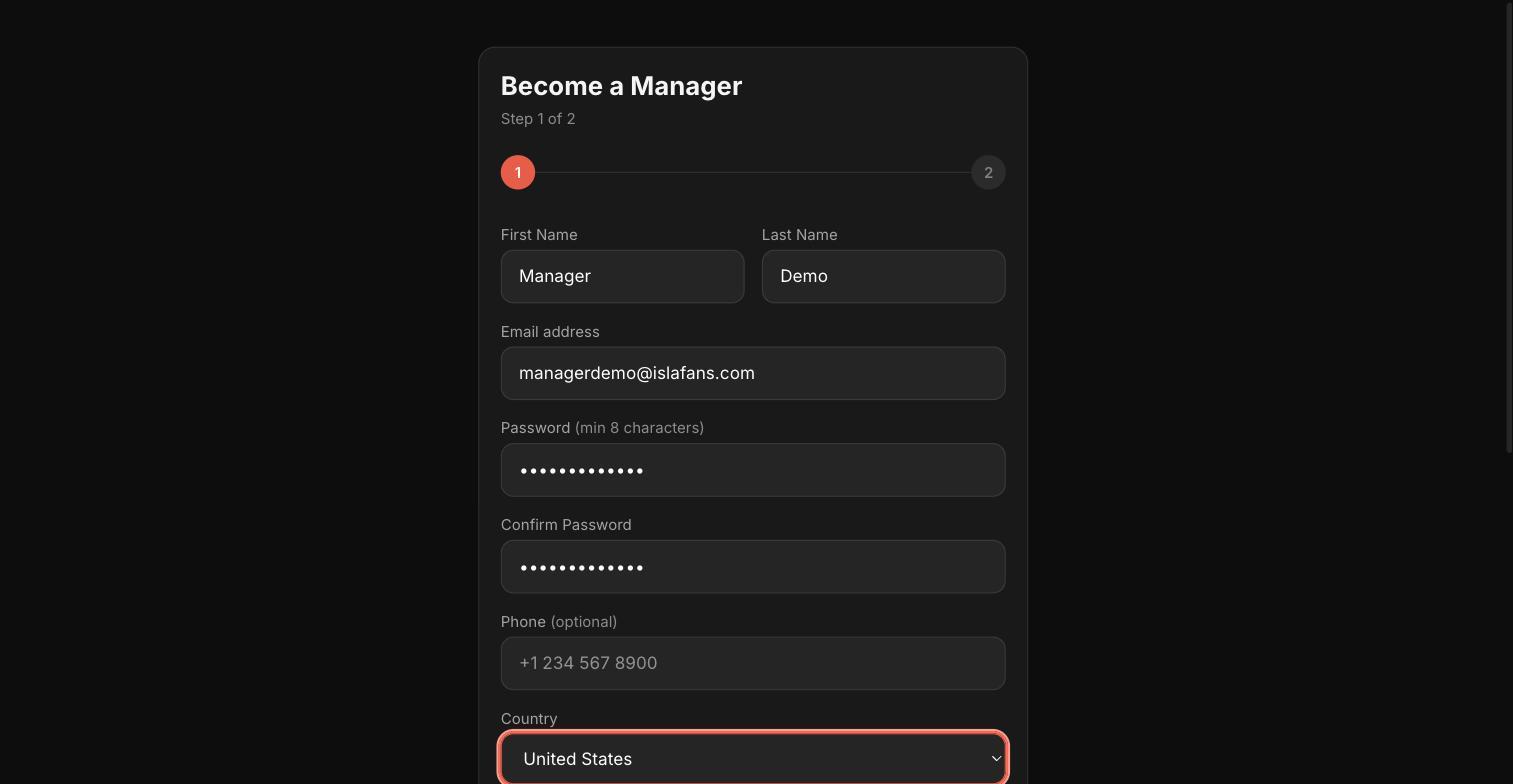
Create Your Manager Account — screenshot 2
2. Step 1 of 2 — your name, email address, and a password.
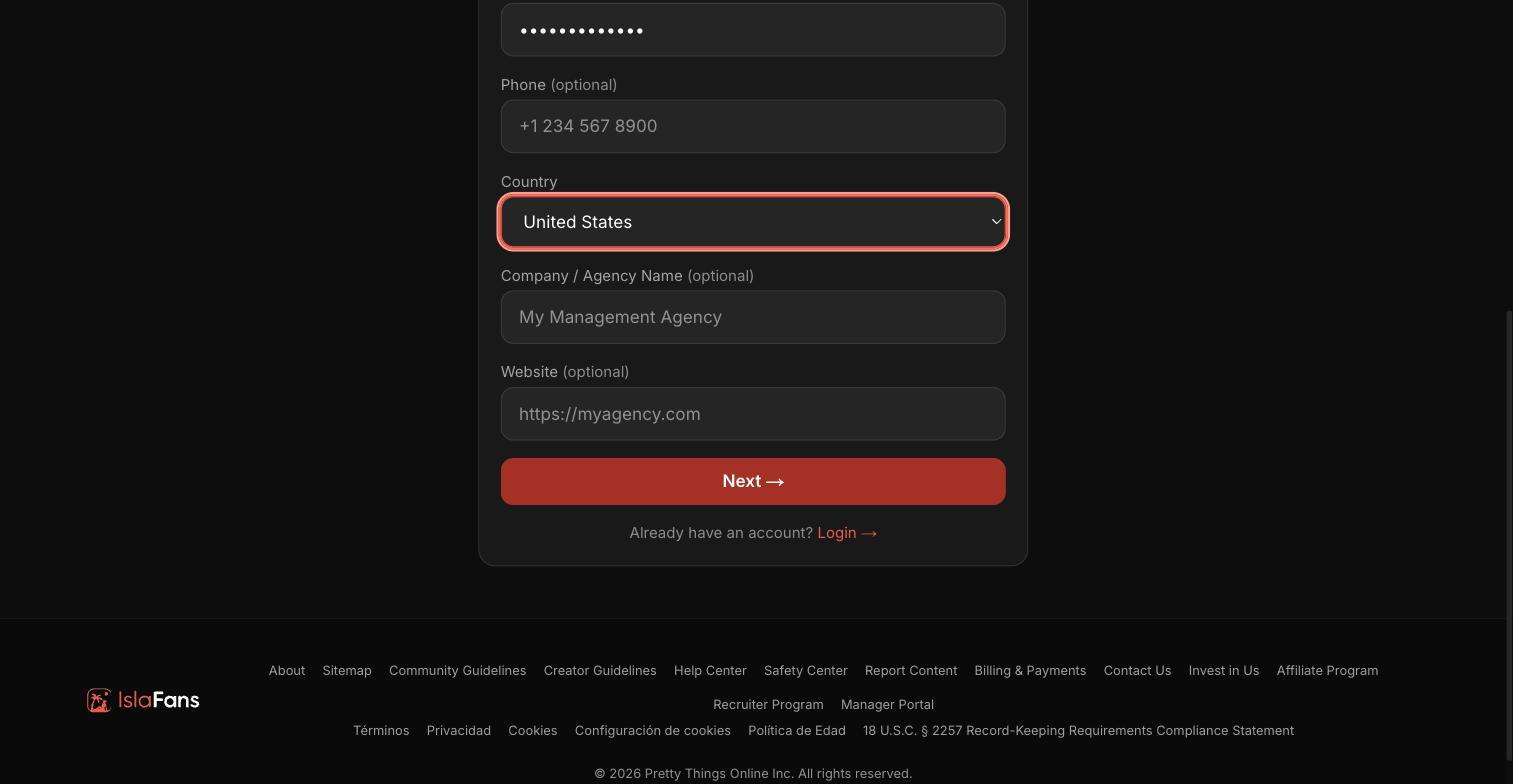
Create Your Manager Account — screenshot 3
3. Step 1 of 2 (continued) — your country, and optionally your company name and website.
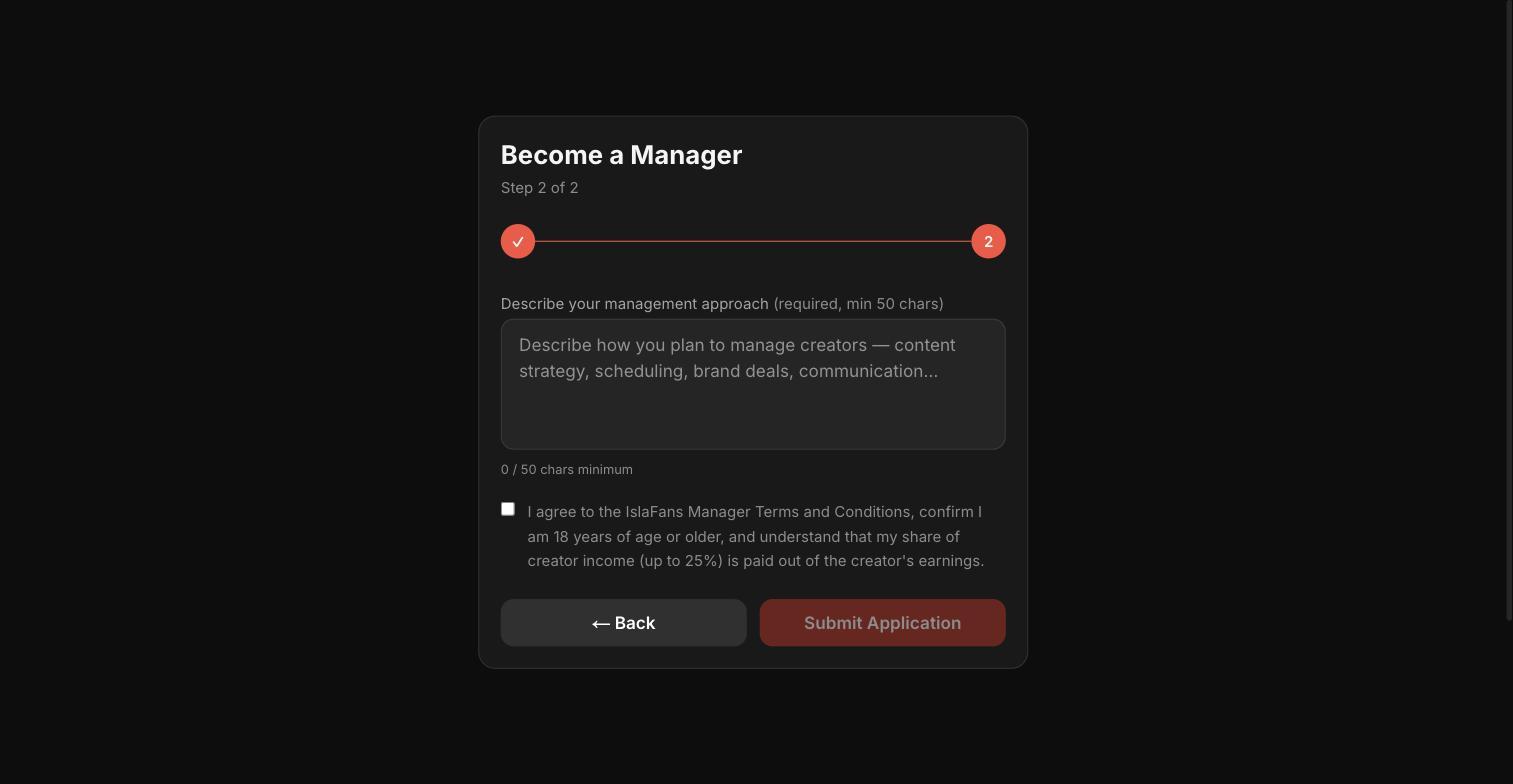
Create Your Manager Account — screenshot 4
4. Step 2 of 2 — describe your management approach (minimum 50 characters).
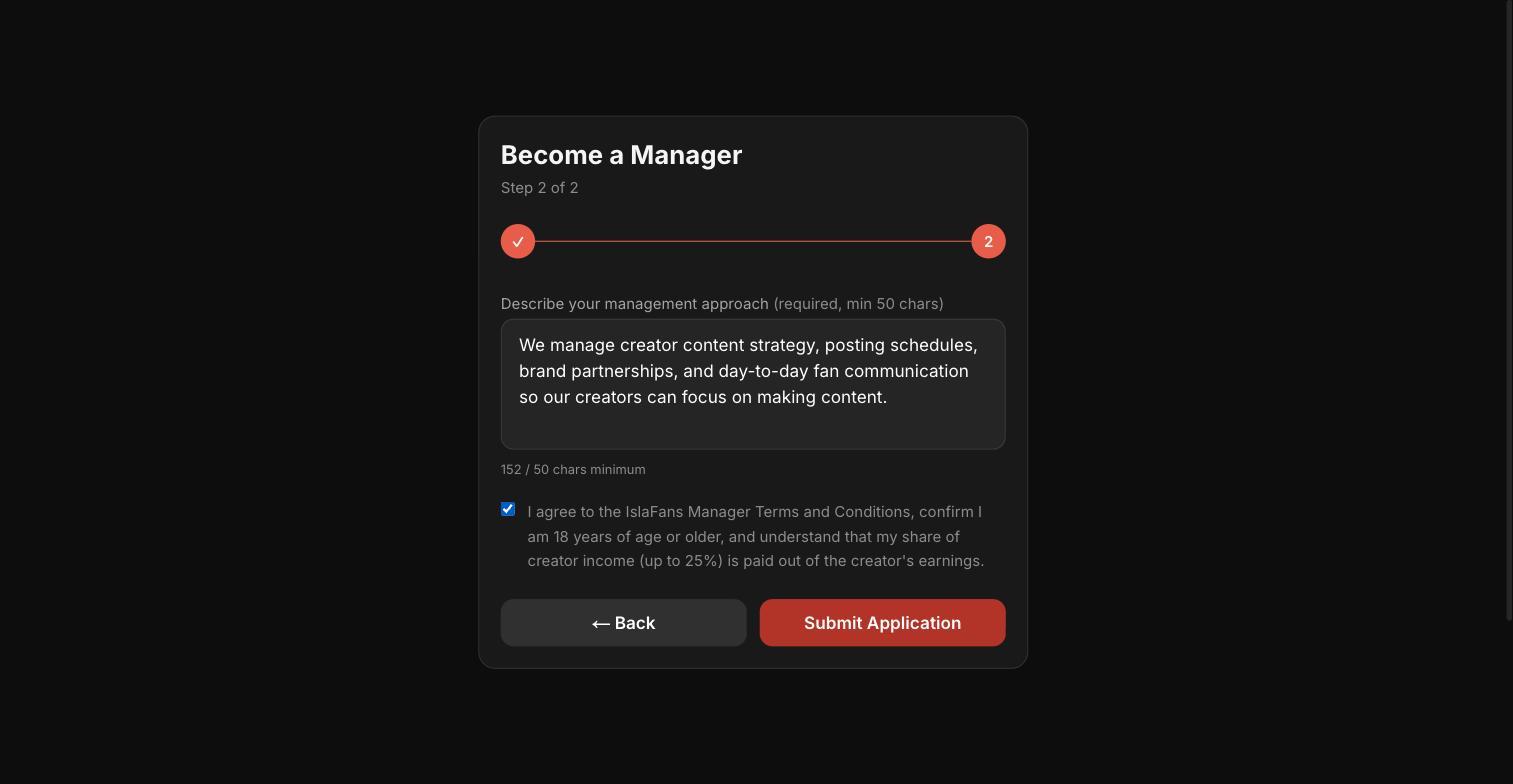
Create Your Manager Account — screenshot 5
5. Agree to the Manager Terms and Conditions and submit your application.
Create Your Manager Account — screenshot 6
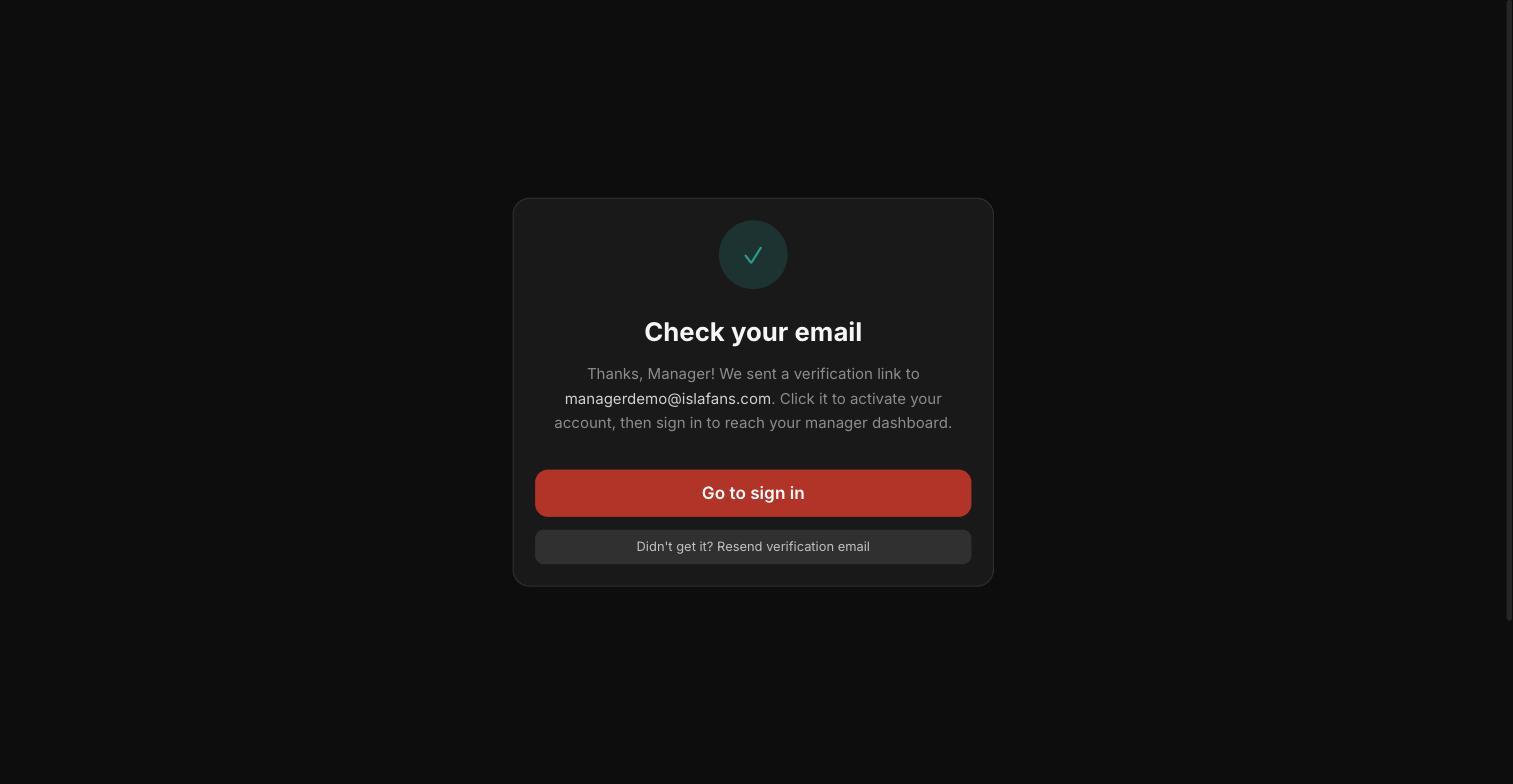
6. "Check your email" — applications are auto-approved, but click the verification link sent to your inbox before you can sign in for the first time.

Step 2Sign In

Once your email is verified, sign in with your new manager credentials.
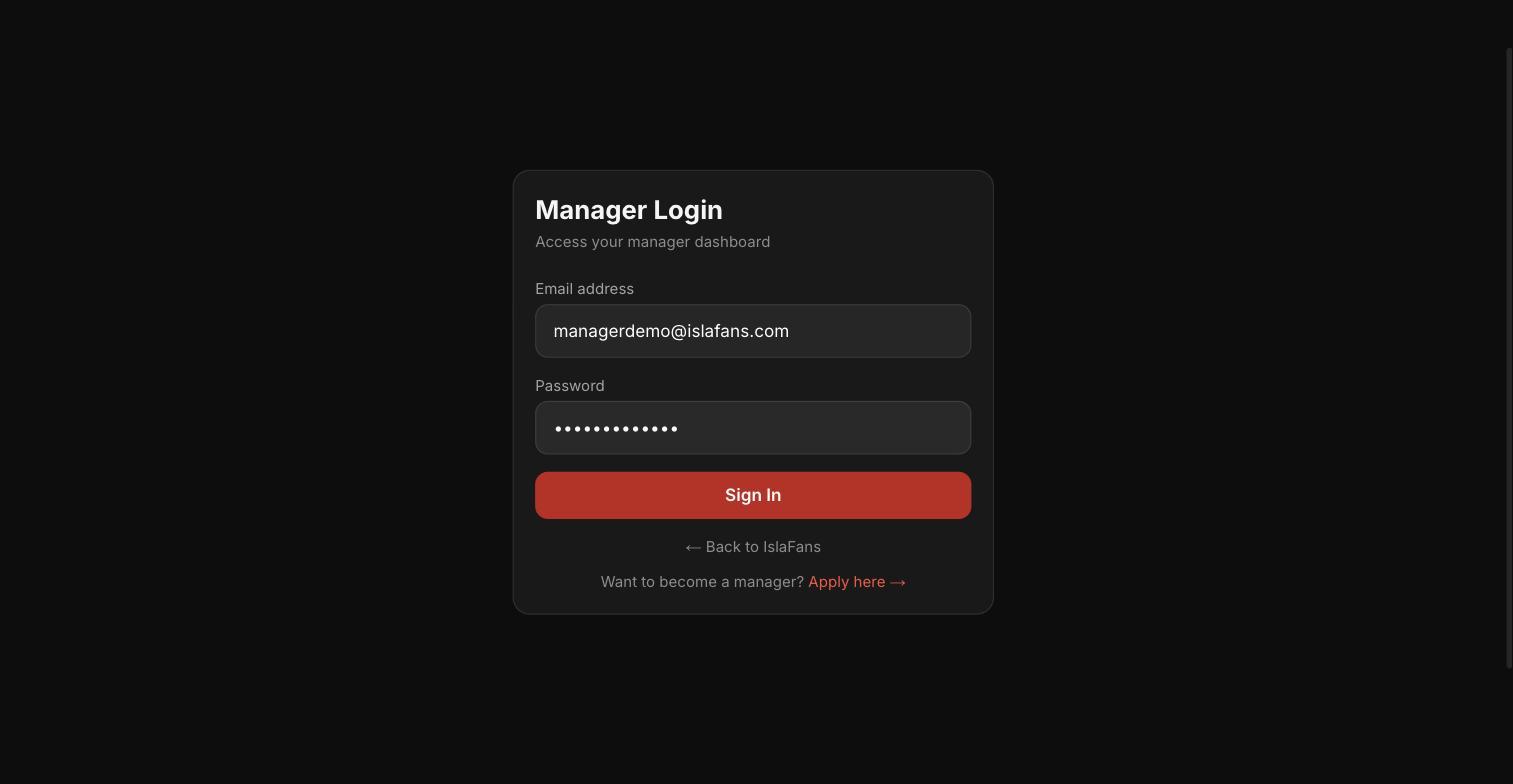
Enter your registered email address and password on the Manager Login page.
1. Enter your registered email address and password on the Manager Login page.

Step 3Explore Your Manager Dashboard

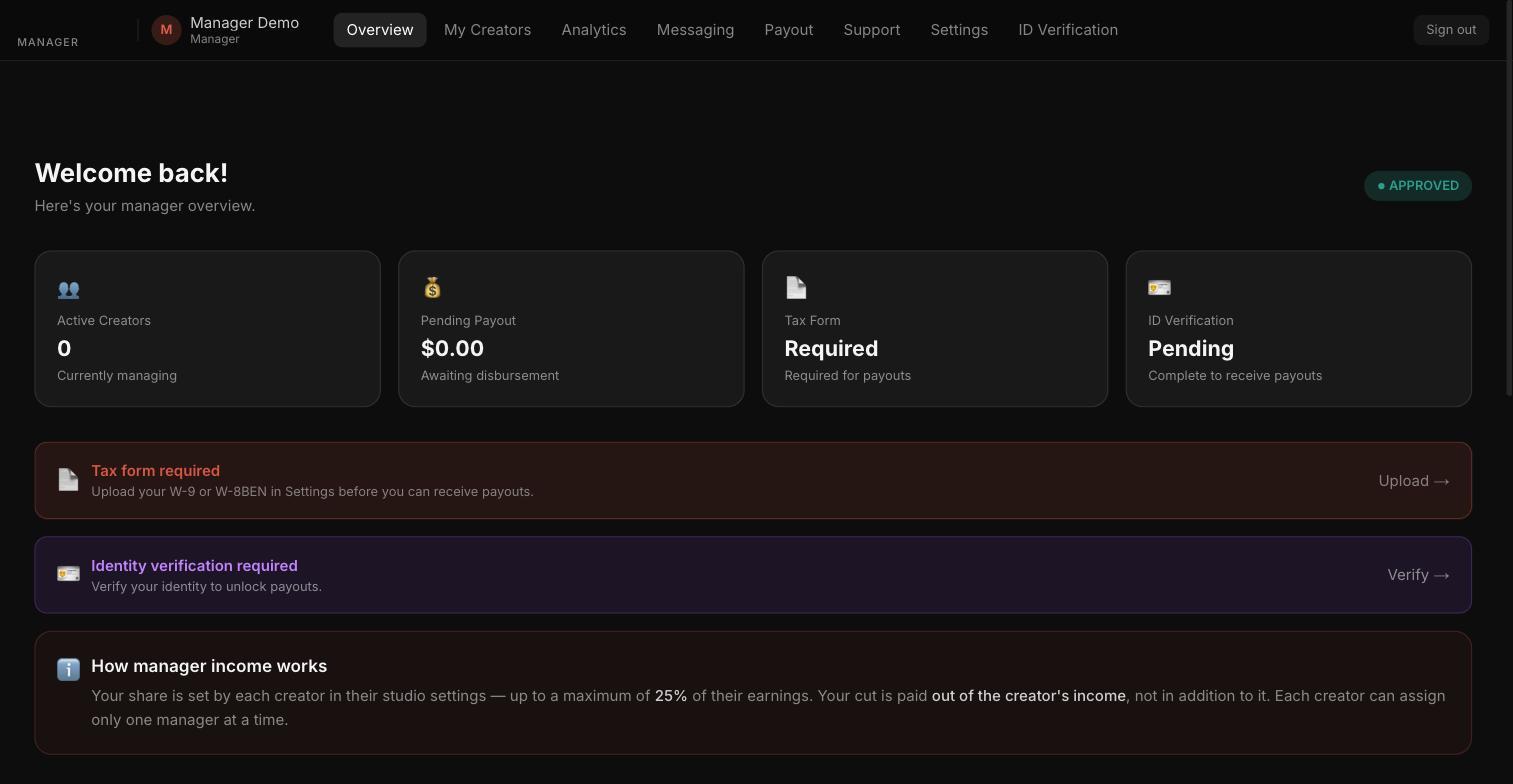
Your dashboard shows your approval status, your roster stats, and any pending action items.
Explore Your Manager Dashboard — screenshot 1
1. The manager dashboard — approved and ready to go, with banners for any pending items like tax forms or identity verification.

Step 4Complete ID Verification

Identity verification unlocks payout setup, so it's worth doing early.
Complete ID Verification — screenshot 1
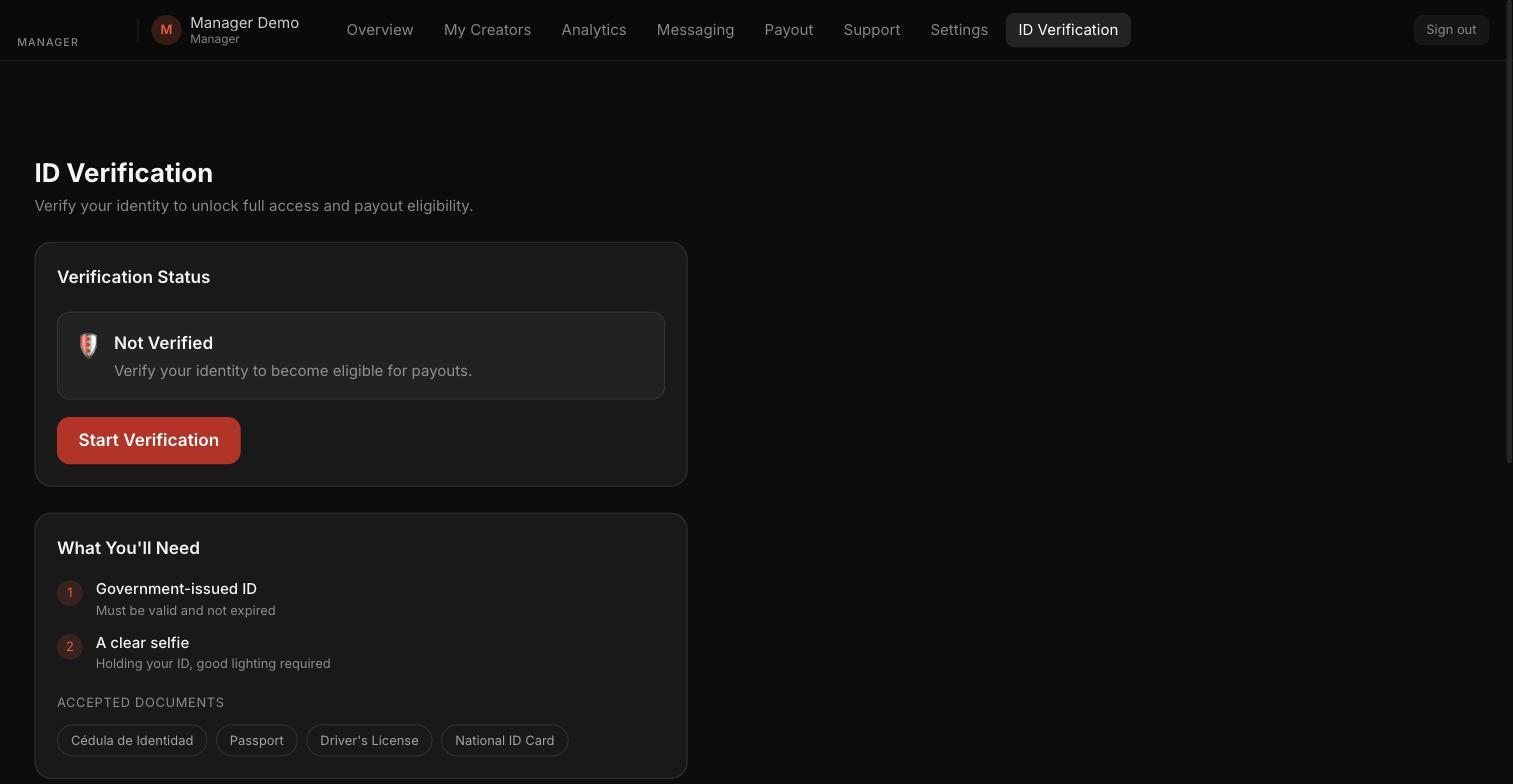
1. The ID Verification page — click "Start Verification" and have a government-issued ID (Cédula de Identidad, Passport, Driver's License, or National ID Card) and a clear selfie ready.

Step 5Set Up Your Payout Method

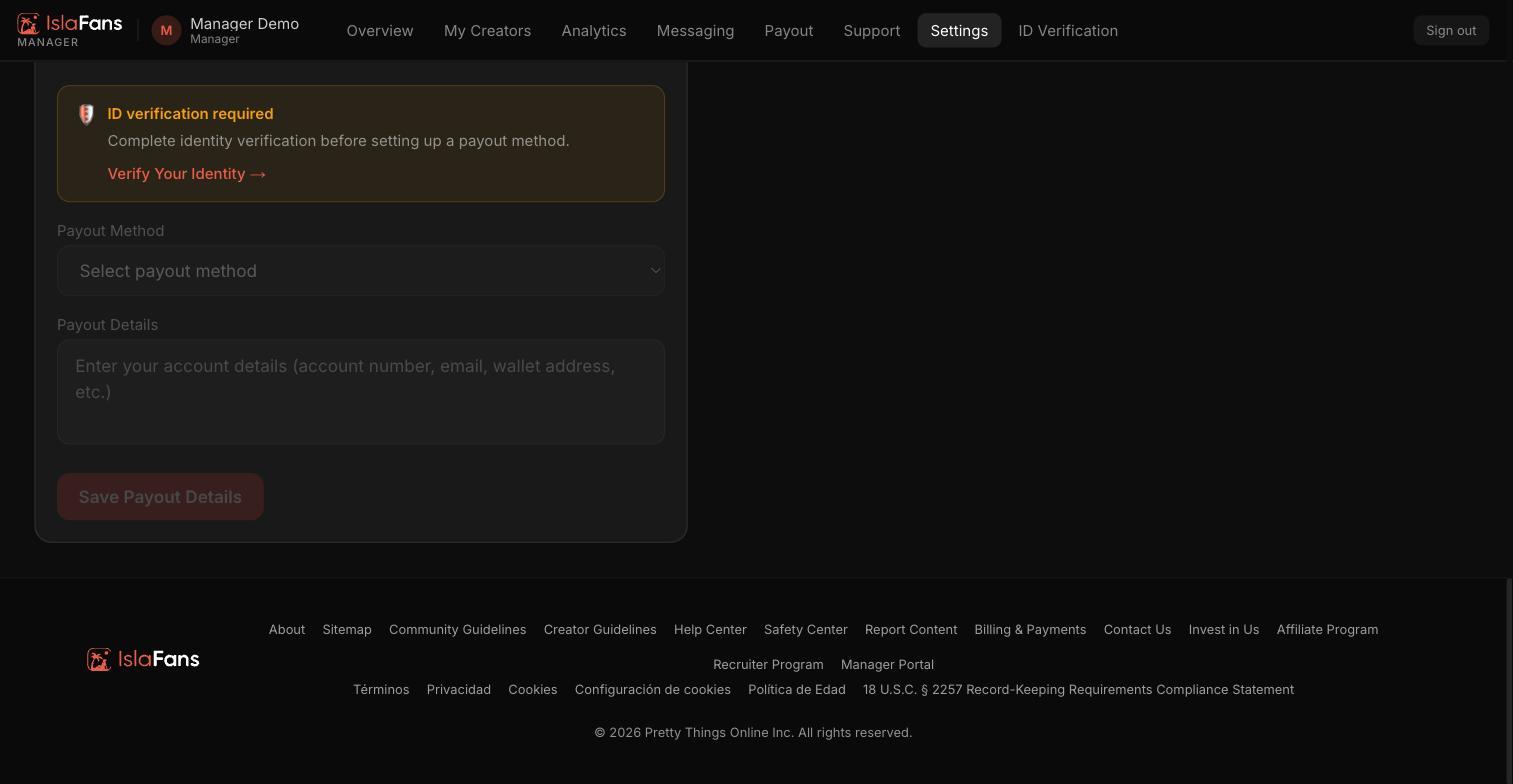
Payout setup lives on the Settings page, but it stays locked until ID verification is complete.
Set Up Your Payout Method — screenshot 1
1. The Payout Details section on Settings — once verified, choose Bank Transfer or Caribe Express, enter your details, and save.

Step 6Submit Your Tax Document

A completed tax form is required before you can receive any payouts, separately from your payout method.
Submit Your Tax Document — screenshot 1
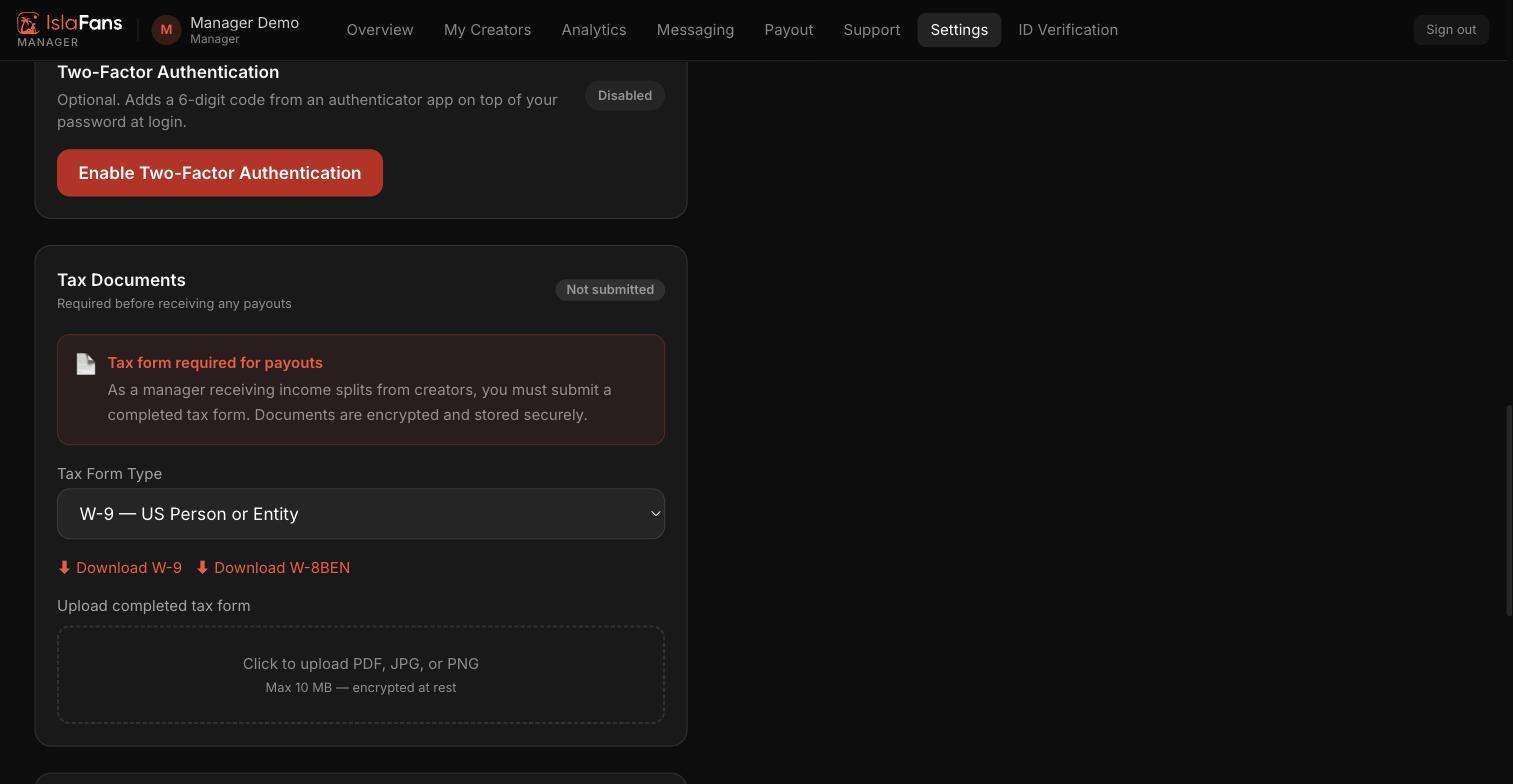
1. The Tax Documents section on Settings — select your form type (W-9 for US persons/entities, W-8BEN otherwise), download the blank form, then upload your completed copy.

Notes

  • The manager application form and dashboard are English-only at the moment, regardless of your language setting.
  • Manager applications are auto-approved, but you're not signed in automatically — email verification is required before your first sign-in.
  • Setting up a payout method requires completing identity verification from the dashboard first.
  • A completed tax form (W-9 or W-8BEN) is required before any payout can be received, separately from setting up a payout method.
  • Have questions? Visit Contact Us.