Help Center/Content
Content Tutorial
Uploading and managing your posts — photos and albums, captions, access control and PPV pricing, scheduling, and editing or reviewing published content.
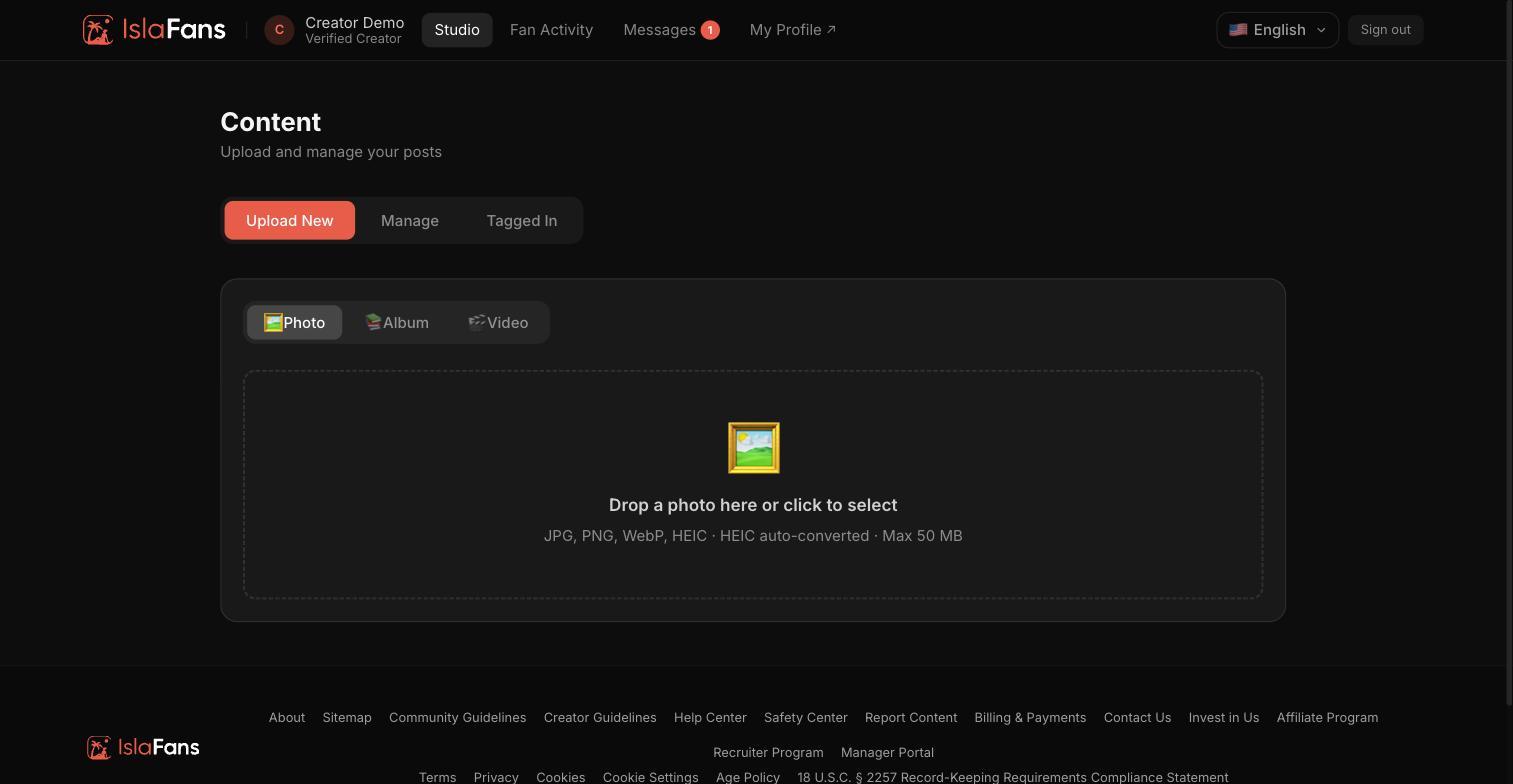
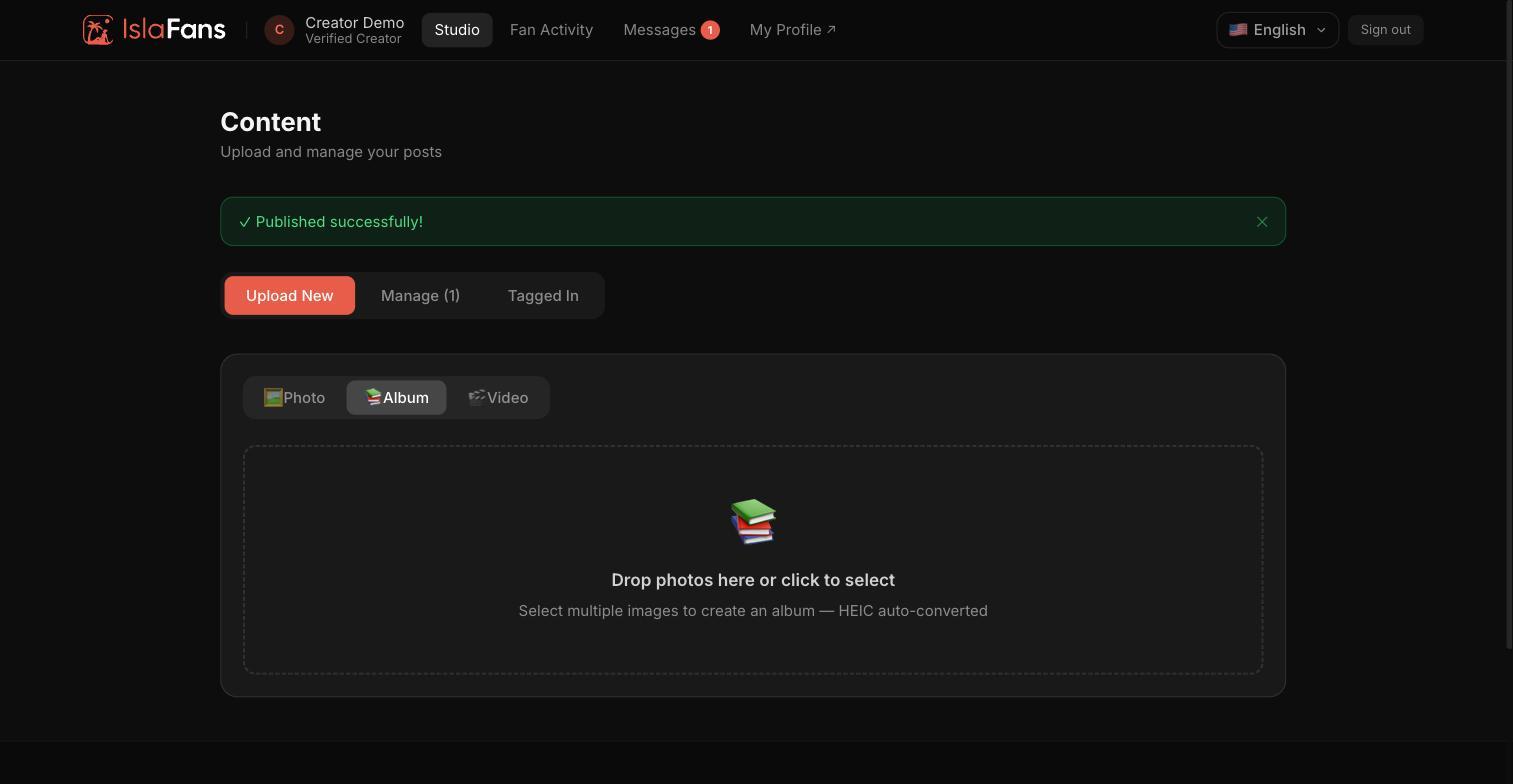
Step 1 — Start an upload
From the Content tile, the Upload tab lets you choose a photo, a multi-photo album, or a video.
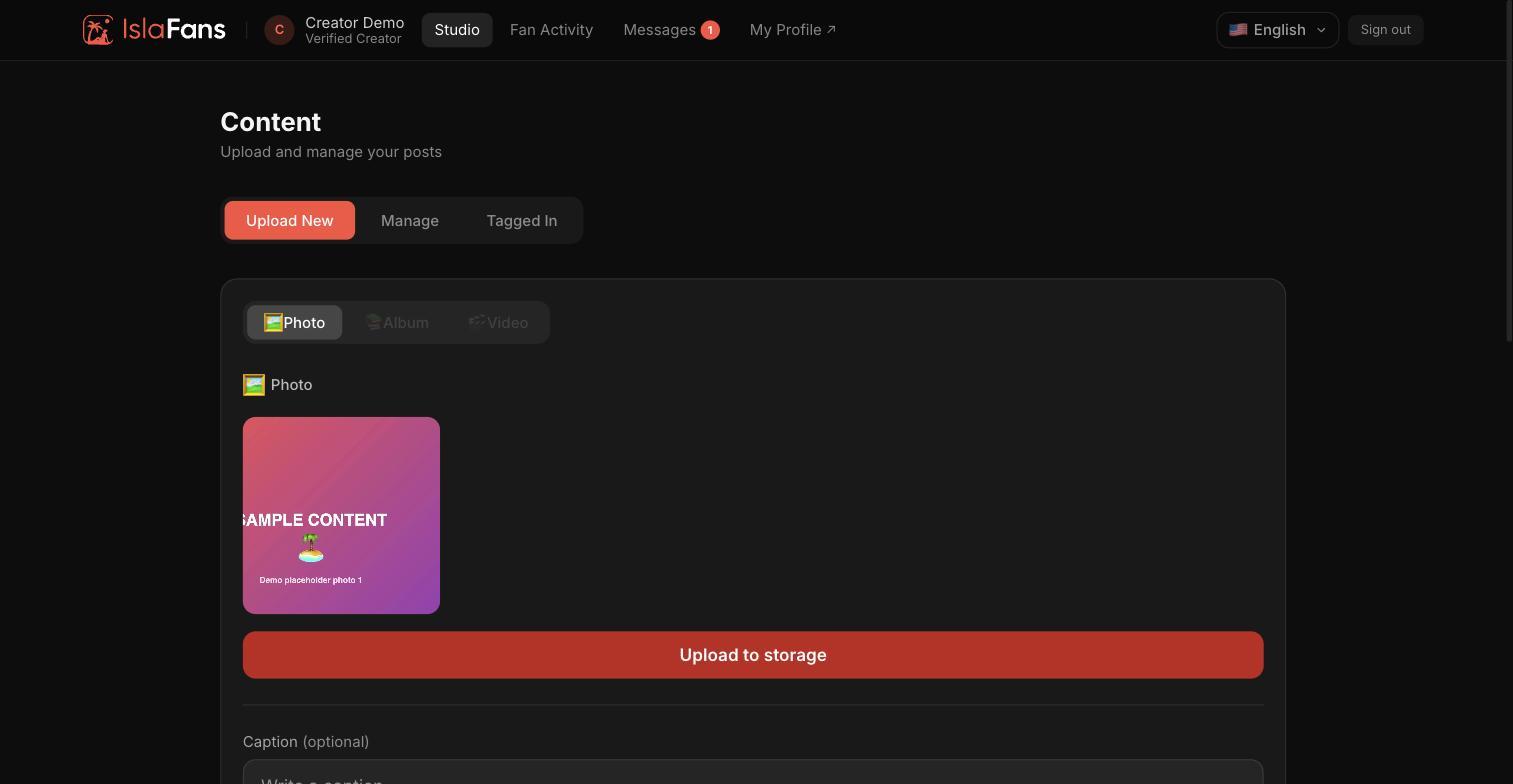
Step 2 — Preview your upload
Once a file is selected, a preview appears before you fill in the post details.
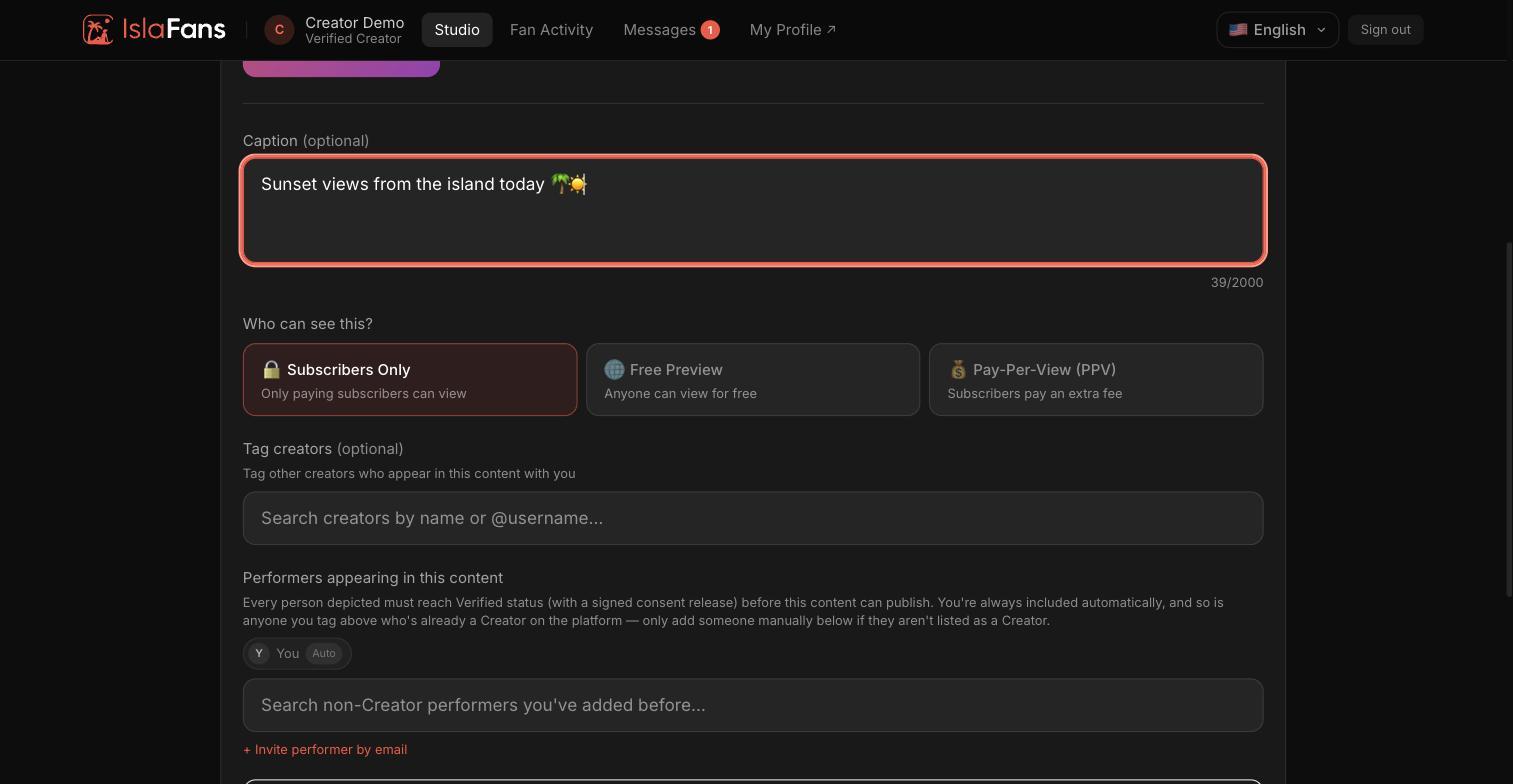
Step 3 — Caption, access control, and tagging
Add a caption, choose whether the post is free, subscription-only, or pay-per-view (PPV) with its own price, and tag any collaborating creators.
Step 4 — Scheduling
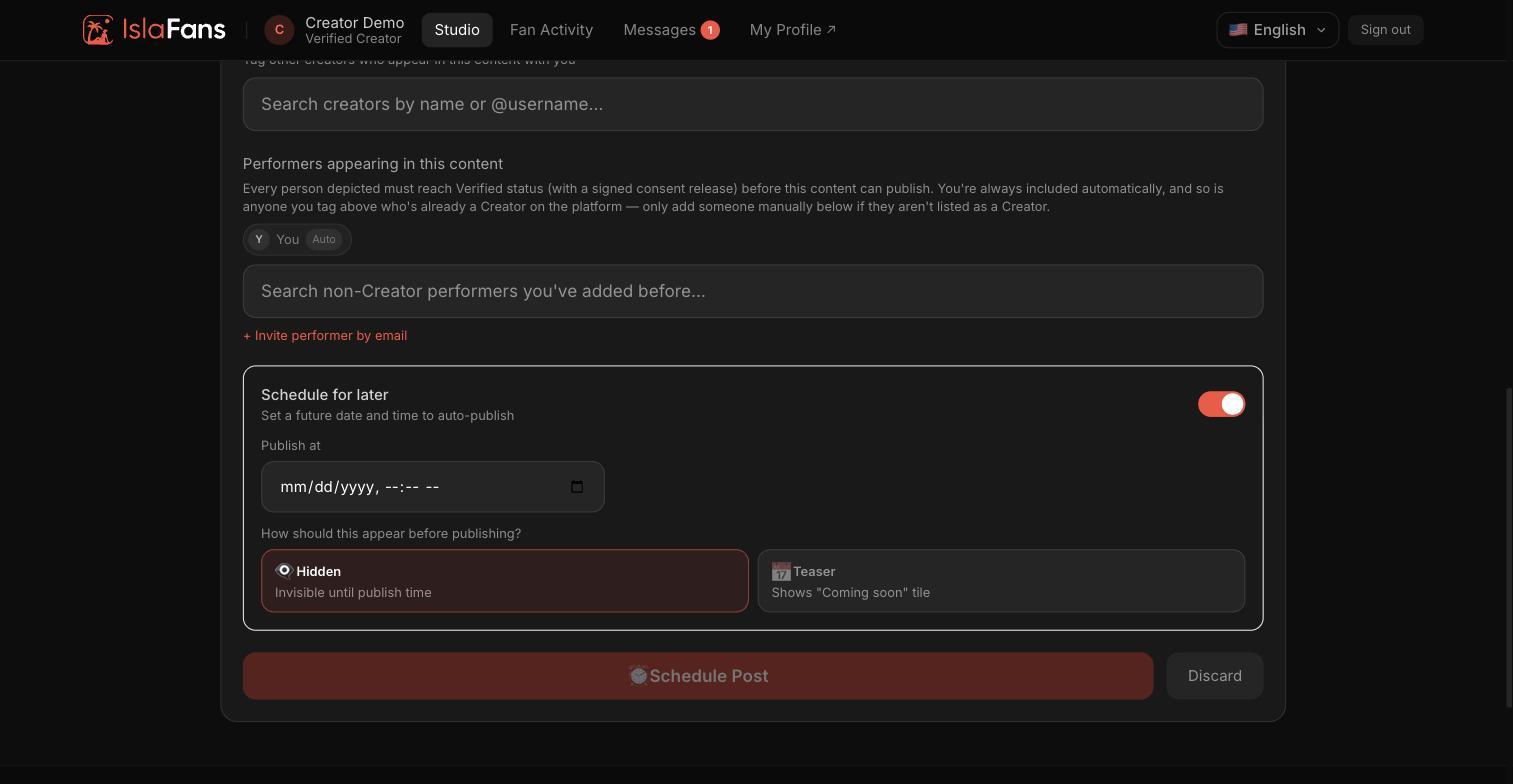
Instead of publishing immediately, you can schedule a post to go live at a future date and time.
Step 5 — Manage published content
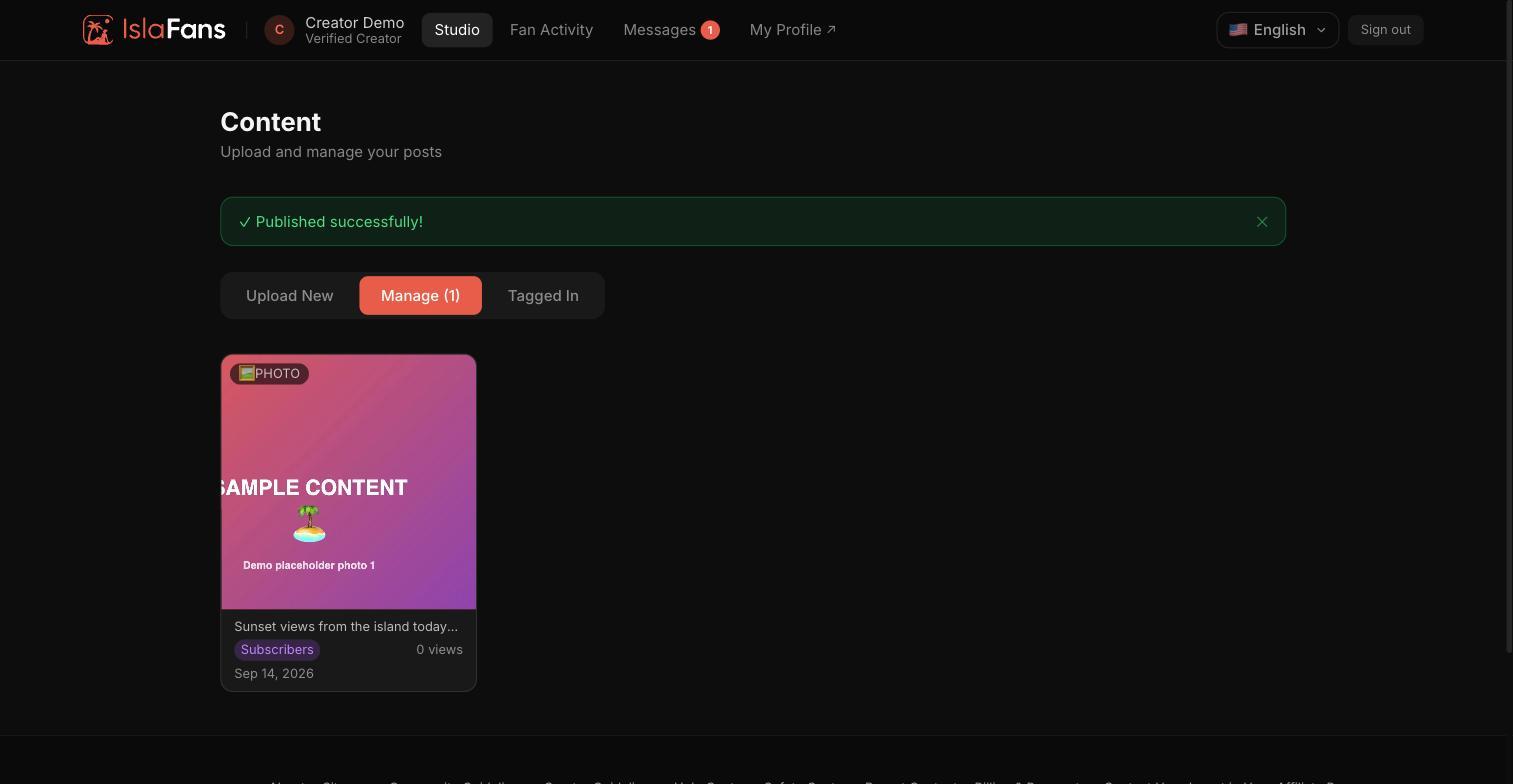
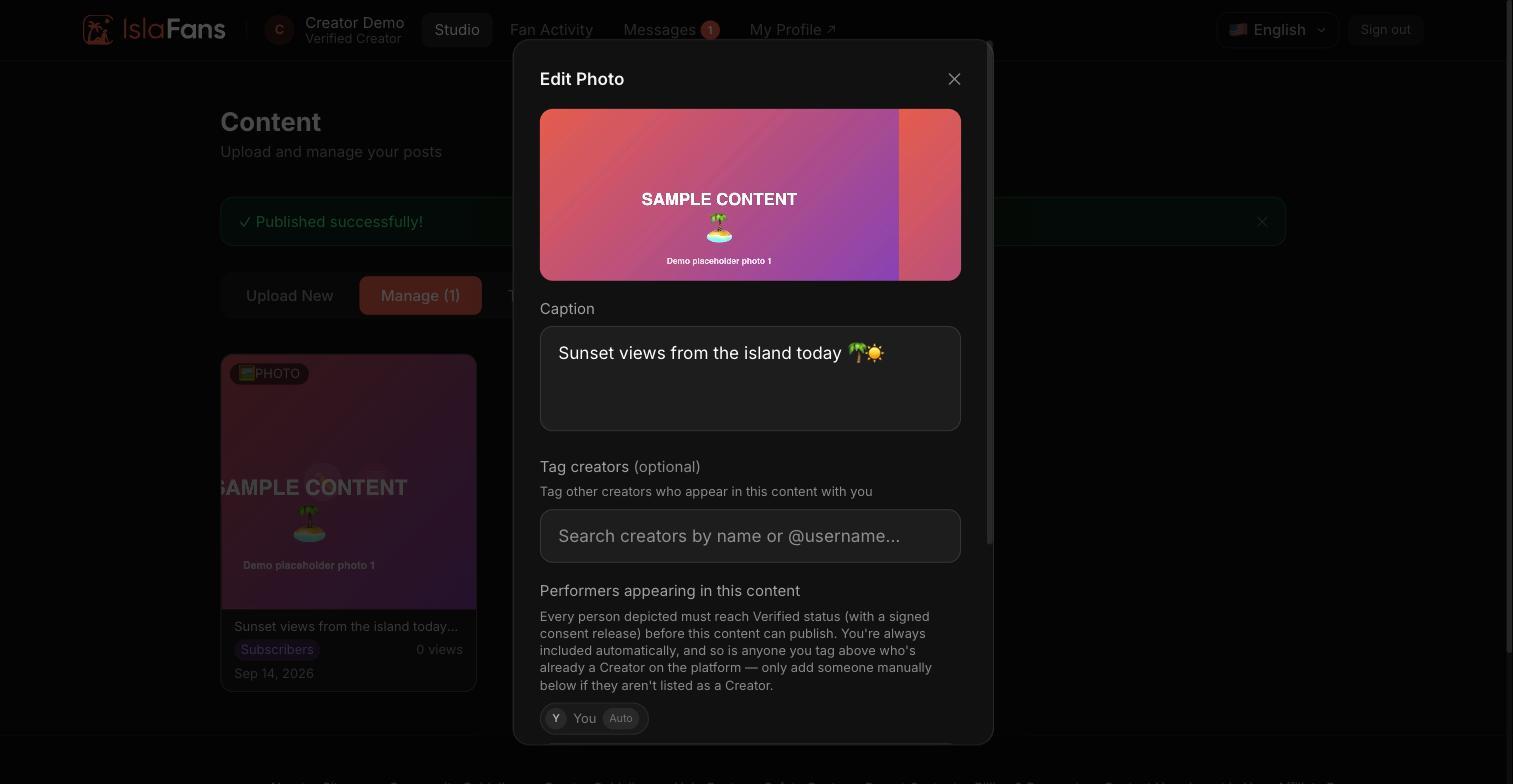
The Manage tab shows every post you've published, with options to edit or review each one.
Step 6 — Tagged-in content and compliance
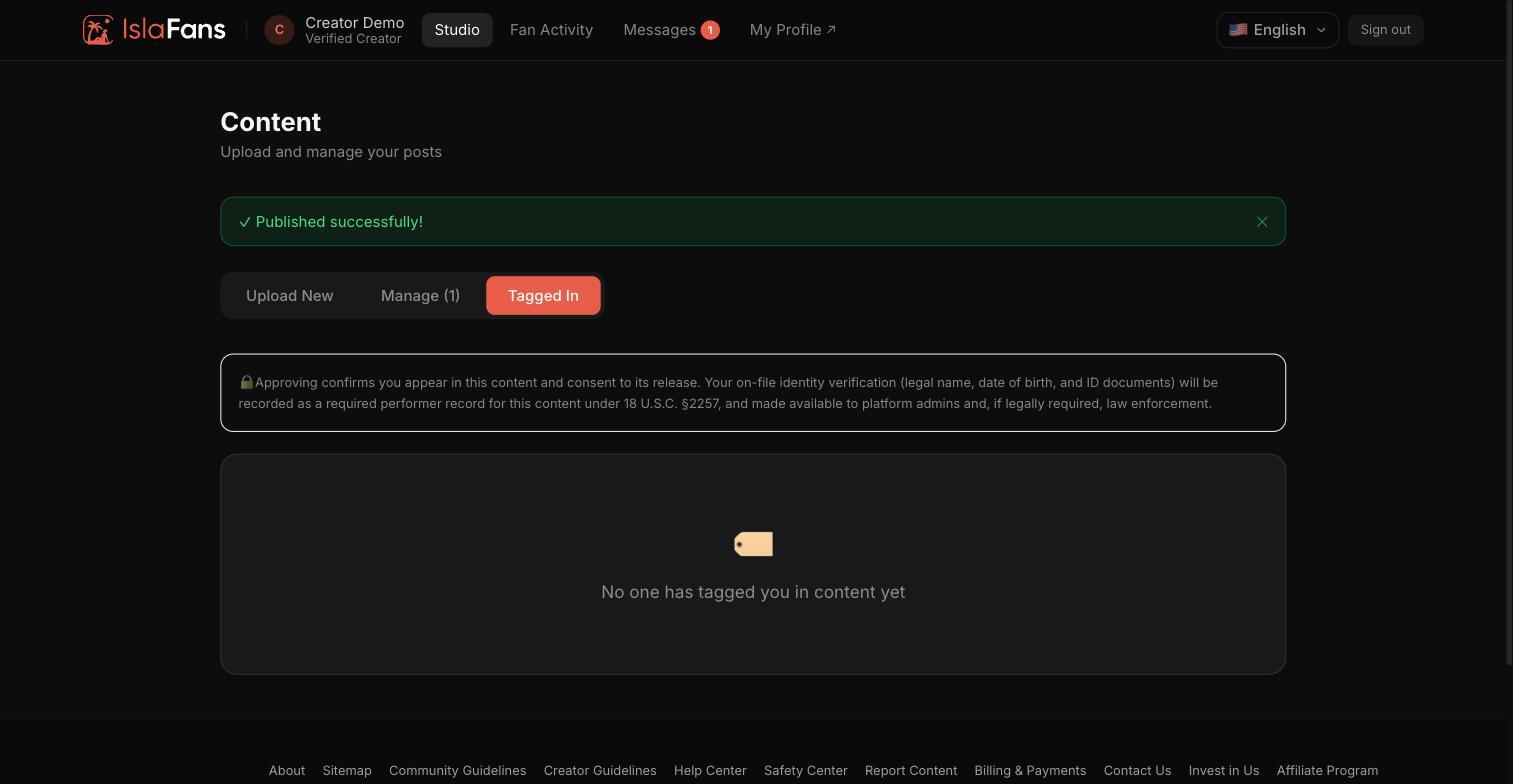
The Tagged tab lists posts where other creators have tagged you, alongside the required 2257 record-keeping notice.
Notes
- PPV (pay-per-view) content is hidden behind a paywall in the feed until a fan pays to unlock it.
- Content involving another creator requires tagging them, which links the post to both profiles and satisfies record-keeping requirements.