Help Center/Go Live
Go Live Tutorial
How to set up and start a live stream from Creator Studio — camera and device setup, filters, background, access and pricing, and starting the broadcast.
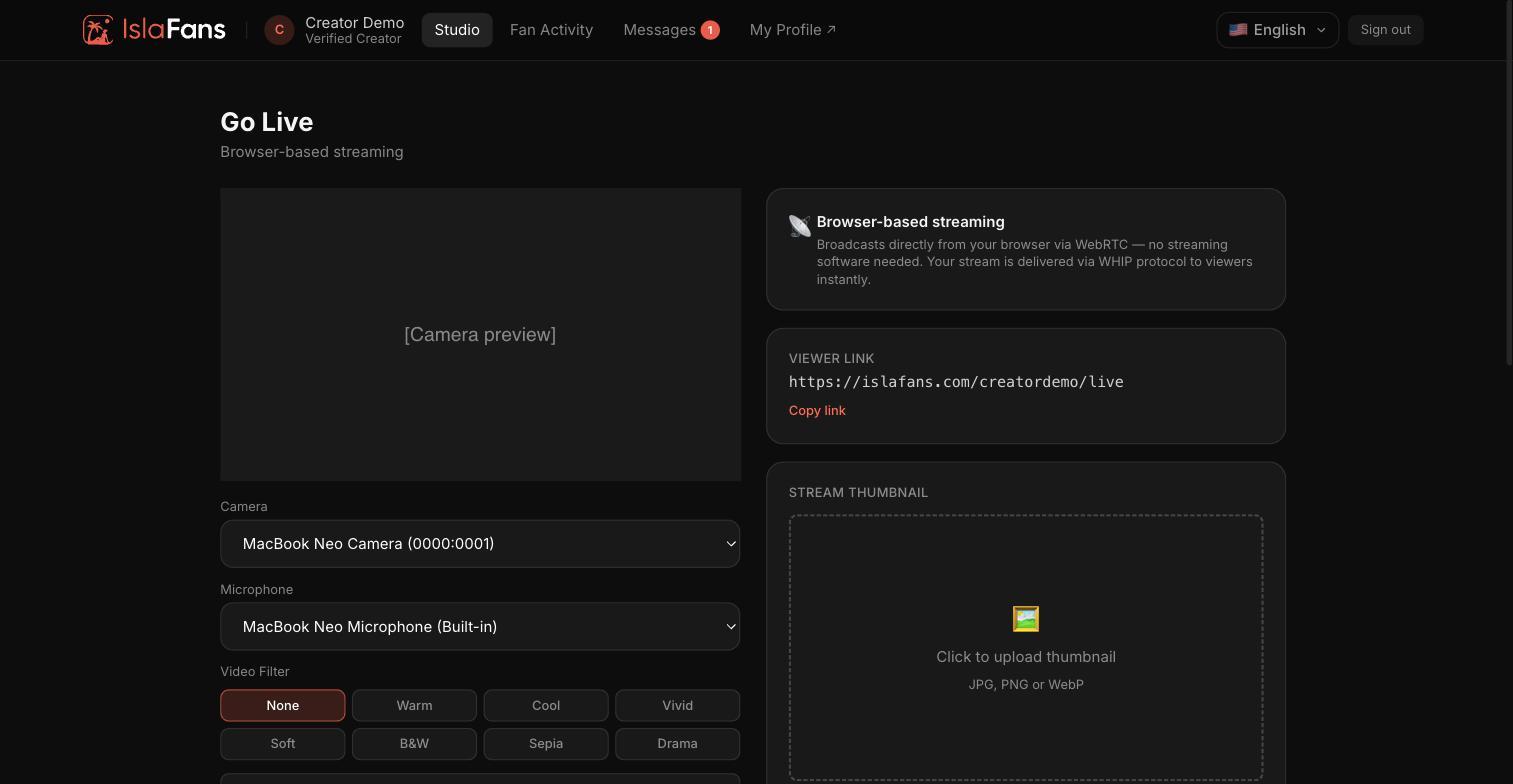
Step 1 — Open Go Live and set up your stream
Open the Go Live tile from the dashboard (unlocked once you're ID-verified). The setup screen lets you pick your camera and microphone before you go live.
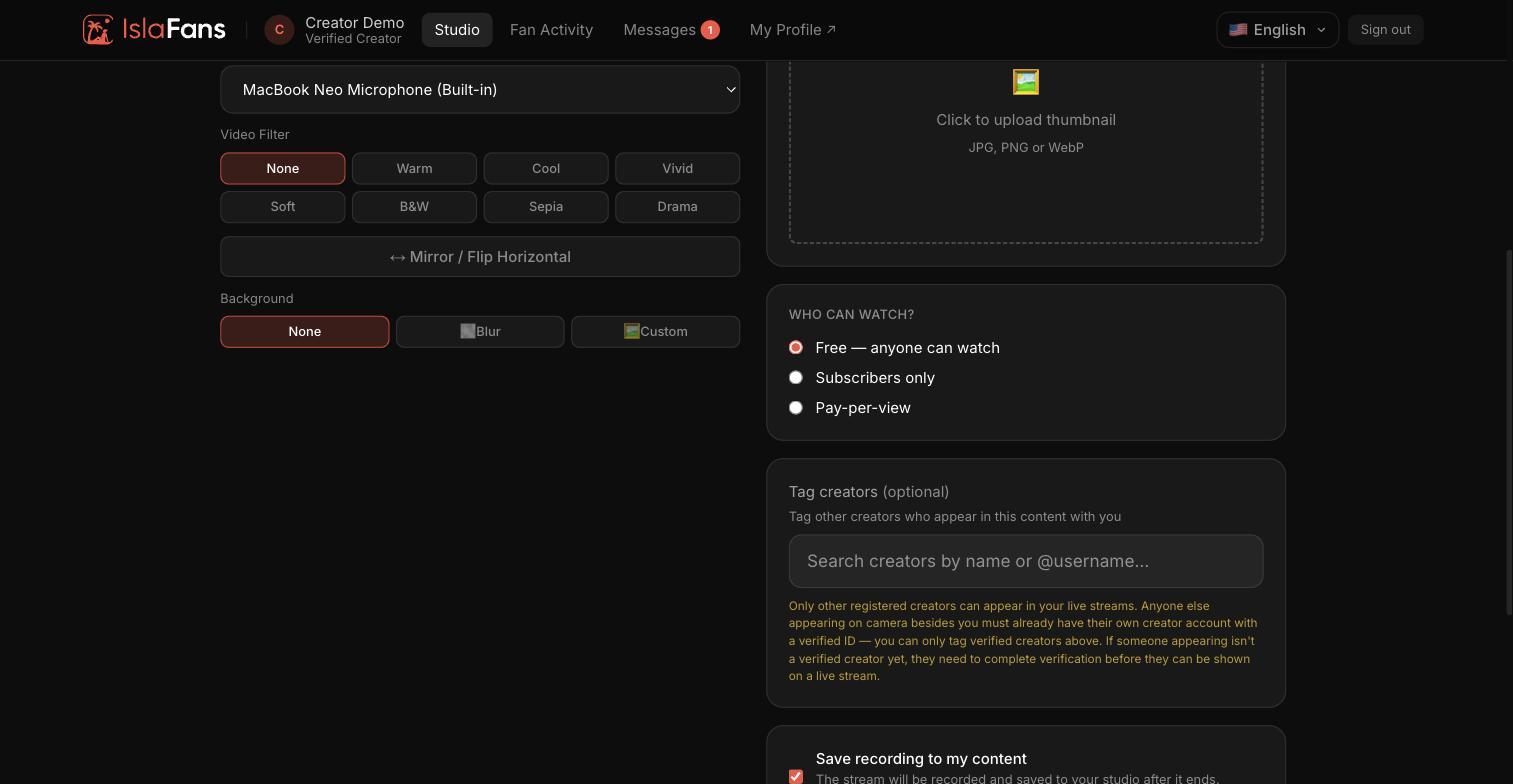
Step 2 — Filters, background, and stream options
Before going live you can apply a filter, choose a virtual background, and review your access settings.
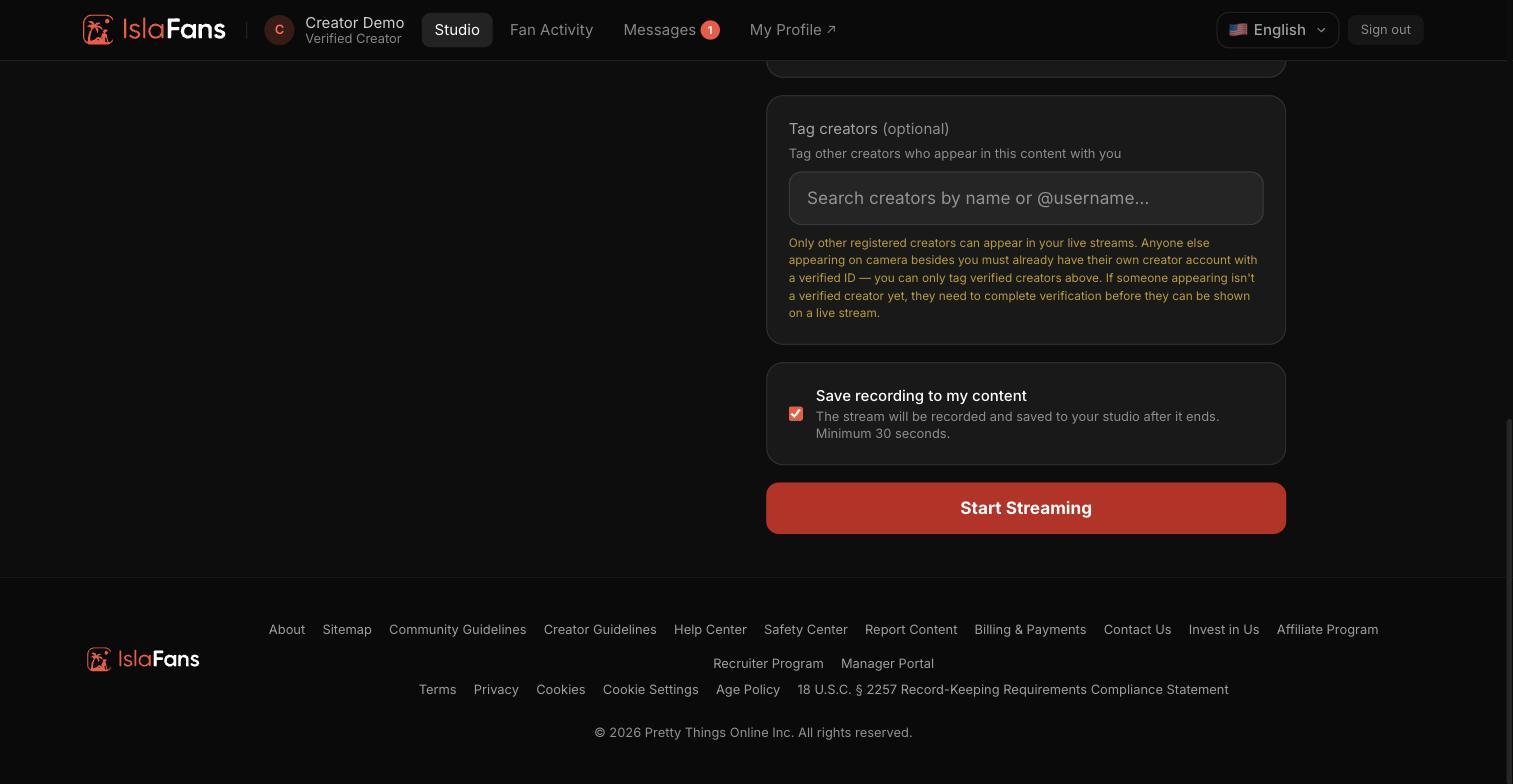
Step 3 — Set access, pricing, and start streaming
Choose whether the stream is free or paid, decide if it should be recorded, then start the broadcast.
Notes
- Your camera preview only appears once your browser grants camera and microphone permission.
- A recorded stream is saved to your content library automatically once you stop broadcasting.
- Going live is a public, real-time broadcast to your subscribers — double-check your access and pricing settings before you start.